I'm still here, kinda. The blog stopped being high on my priority list when work got busy and I spent most of February travelling. A week in Vegas followed by a week in Puerto Rico, if we're being specific. I also bought a new car! One step closer to being an actual adult. #not
To keep up with me in the real world, follow me on Instagram! @misschelseaelyse
xoxo
Chels
3.06.2013
1.23.2013
1.18.2013
Fridayyy
 |
| {image via the incredible Jamie of Ann Street Studio} |
Happy Friday, and may all your wishes come true this weekend ;)
xoxo
Chels
1.16.2013
1.15.2013
Tues-DIY
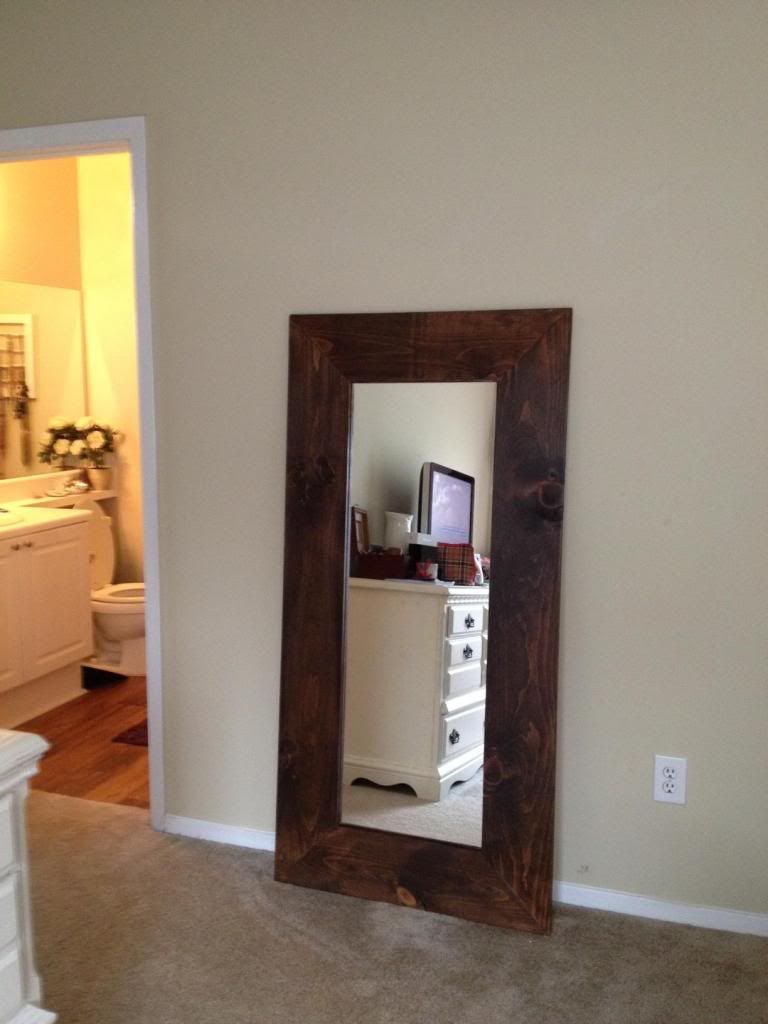
My very first DIY! Well.. first one to be featured on the blog. I DIY like nobody's bidness, I've just never had a decent camera to document it with. Now that I'm all fancypants with my iPhone, I can share it all with you! Aren't you glad? ;)
To start off with, I purchased this mirror for $10 from IKEA. It was cheap, and got the job done, but it was way too small for the wall I was using it on. If we're being honest here, it sat propped up against the wall, still in it's box, for a good 5 months before I did anything with it. And for a while it was Millie's favorite thing to chew on.
Supplies:
1. Measure your frame before going to the store to buy your supplies. I made the mistake of guesstimating the size of my frame, and had to go back to Home Depot for one more piece of wood.
2. Using your table saw, cut the four sides of your frame using 45 angles. Measure twice, cut once!
3. Assemble everything on the piece of plywood (not pictured). This keeps the mirror in place as well as the frame around it. We used a heavy-duty glue. If you're going to hang the mirror, as opposed to propping it against the wall, you may want to look into a more secure way to attach everything.
4. Nail the boards together at the corners, to hold everything square.
Supplies:
- Cheap-o wood boards (I used 1"x8" because I knew I wanted a thick frame)
- A large piece of plywood or particle board to secure the mirror and frame to
- Stain (or paint, your decision)
- Polyurethane (I used this to seal the stain on the wood and add a bit of shine)
1. Measure your frame before going to the store to buy your supplies. I made the mistake of guesstimating the size of my frame, and had to go back to Home Depot for one more piece of wood.
2. Using your table saw, cut the four sides of your frame using 45 angles. Measure twice, cut once!
3. Assemble everything on the piece of plywood (not pictured). This keeps the mirror in place as well as the frame around it. We used a heavy-duty glue. If you're going to hang the mirror, as opposed to propping it against the wall, you may want to look into a more secure way to attach everything.
4. Nail the boards together at the corners, to hold everything square.
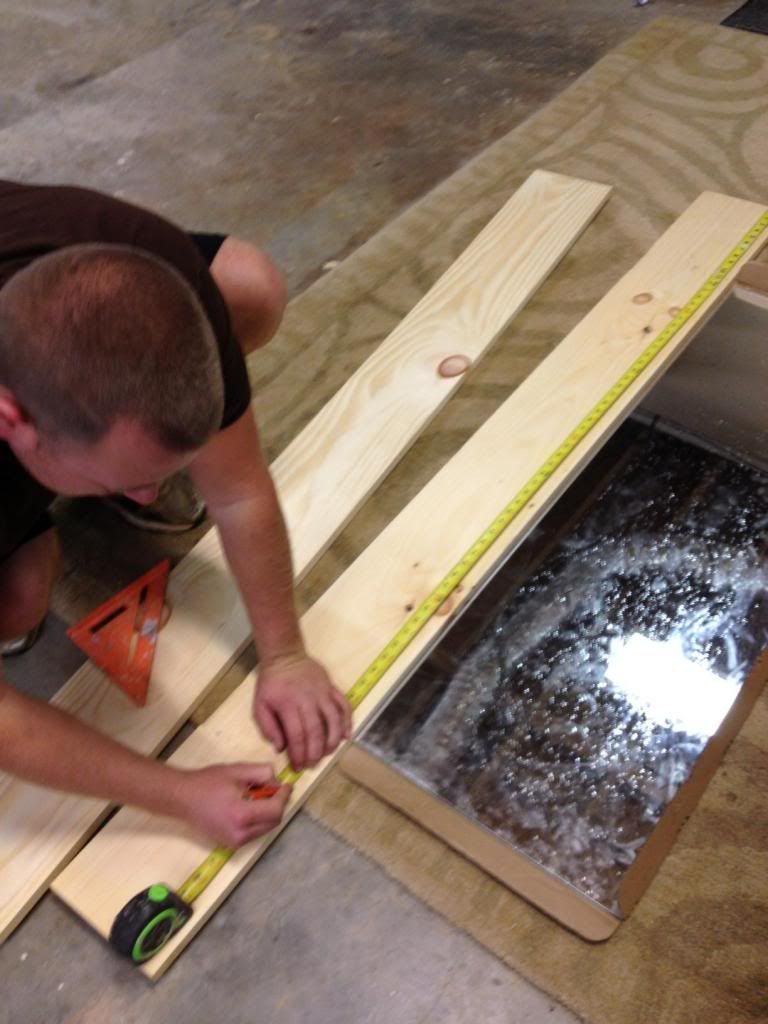
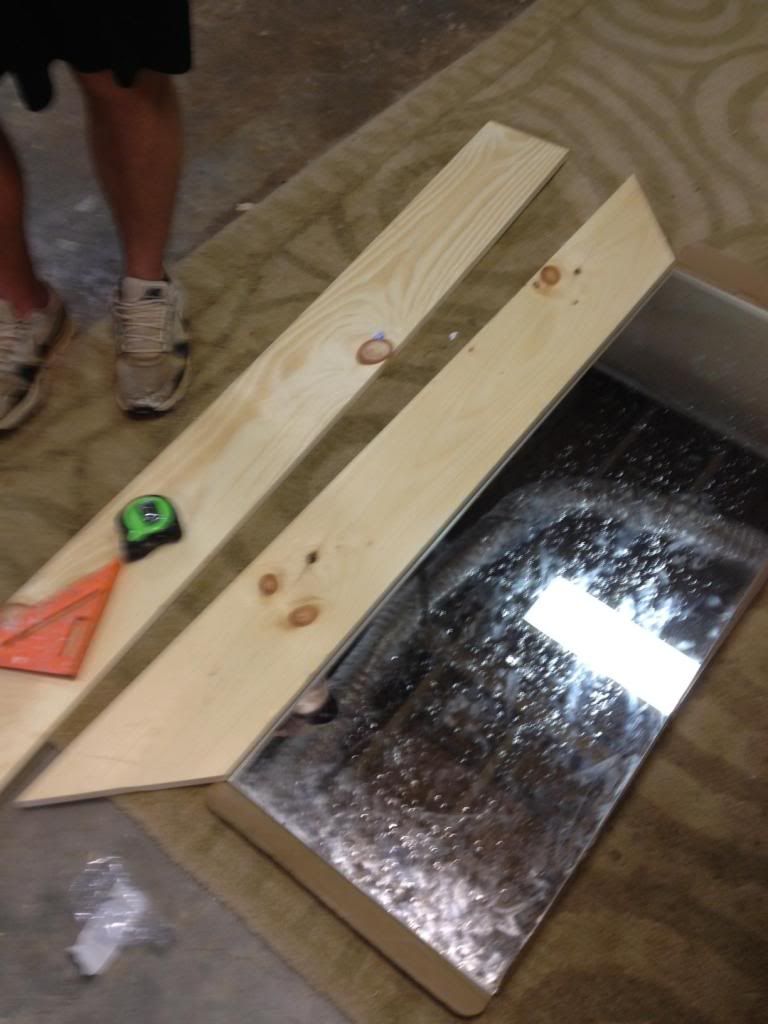
*skipped a few steps in the pictures, but I think you get the general idea*
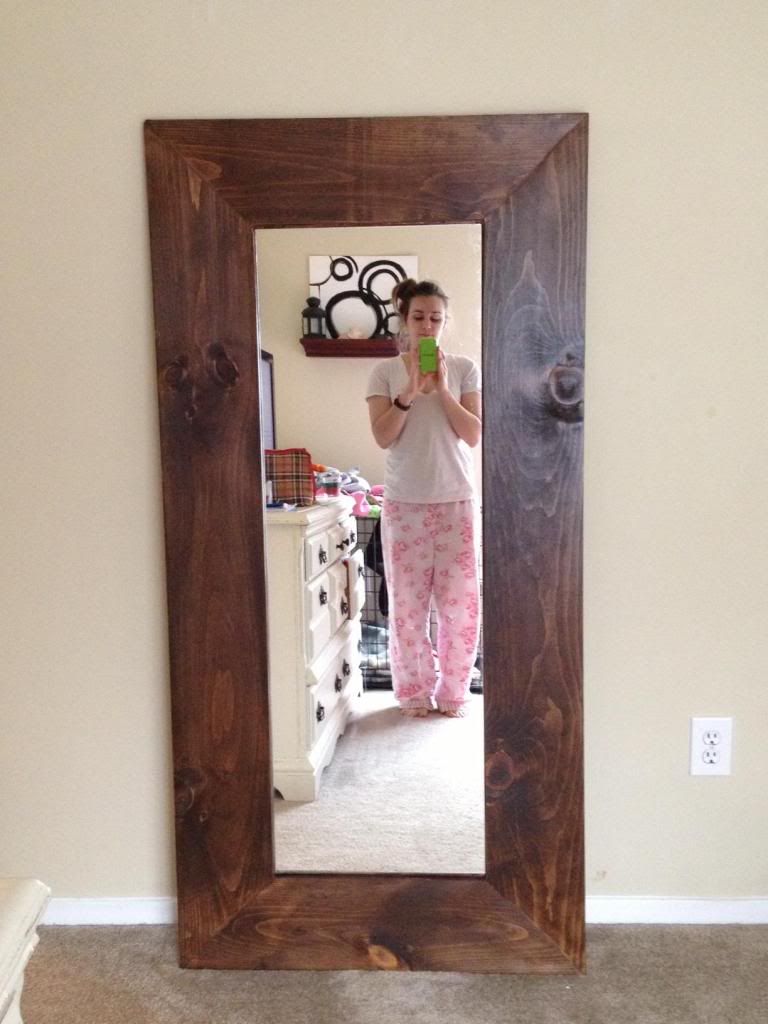
4. Now the fun part! Paint, stain, do whatever you want to your mirror frame! We went with a dark stain to offset all the white furniture I have in my bedroom. This took the longest as we had to wait for it to dry, then apply the poly.
5. All done!
Ta-da! Still a tad bit too small, but I'm super happy with the results. Also, I know you're loving me in my jammies with bedhead.
Total cost: $30
I also have some wood scraps and tons of stain left over. I plan on making a dog food bowl holder.. stay tuned ;)
xoxo
Chels
Favorite Spaces :: 1.15
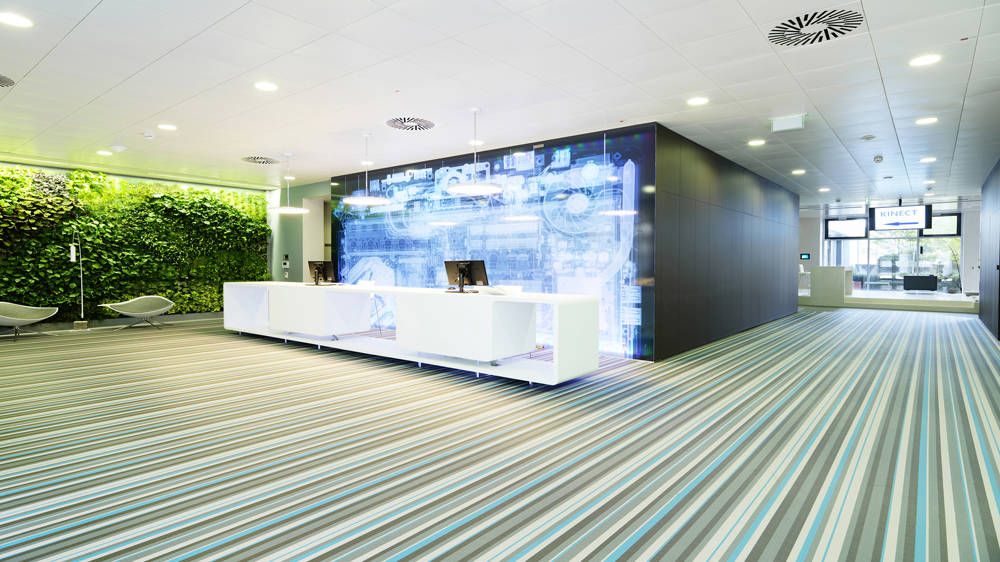
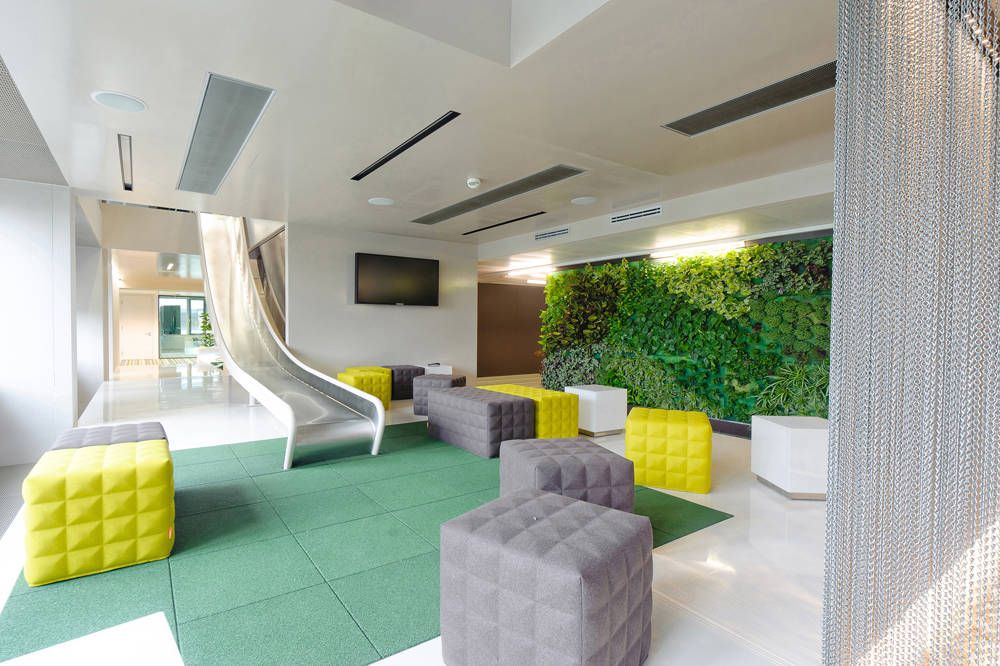
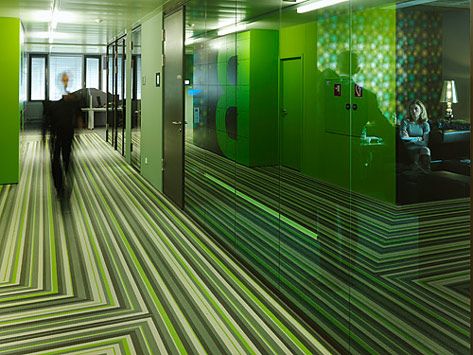
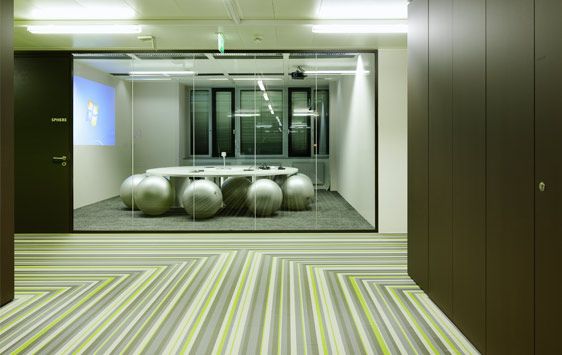
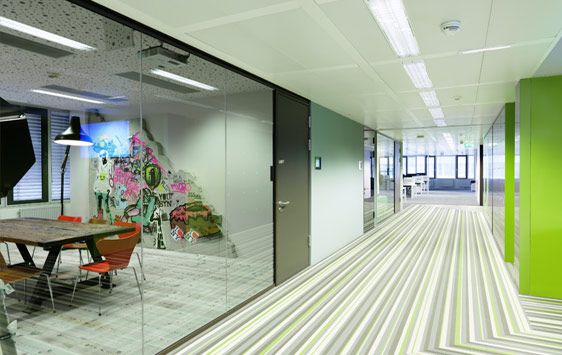
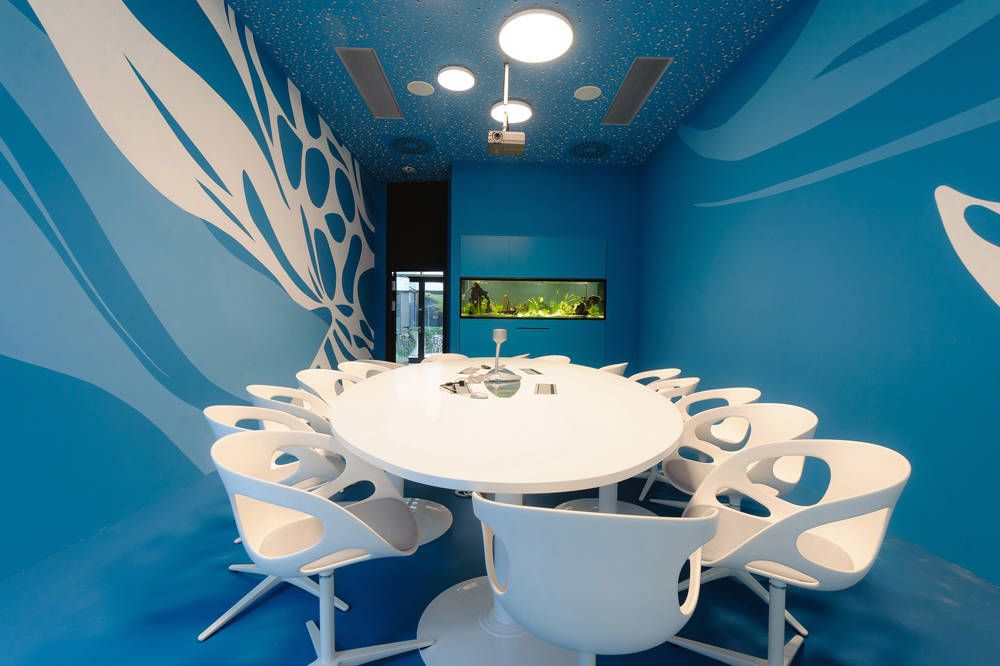
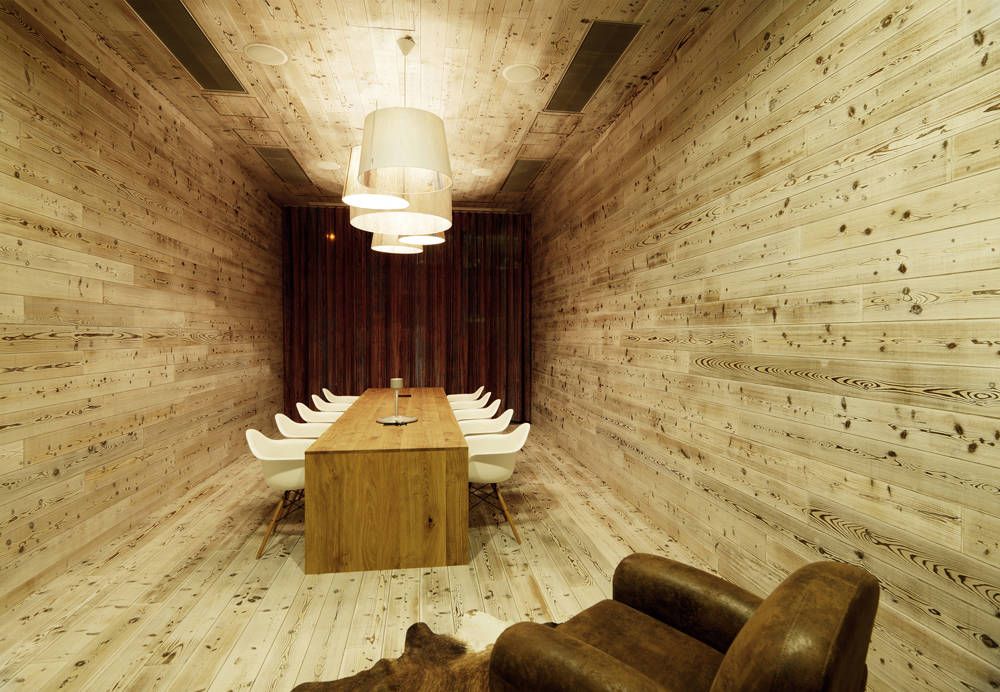
When I close my eyes and imagine my dream office, the place where I'd be exstatic to come into work every day, the place where my creativity wouldn't be constrained by a stupid cubicle, this is pretty darn close.
Welcome to Microsoft's Vienna HQ, designed by INNOCAD Architektur.
1.14.2013
Monday Morning Motivation
Call me childish, but this is absolutely one of my favorite images ever. It's pretty much my life, illustrated with a bunny on a bike on a salmon background. Doing what I want (or don't want), and when I want to do it, and not giving a fck about da rulez.

WWJBD, amiright?
xoxo
Chels
Subscribe to:
Posts (Atom)


